Bubble Letter B
For years, designers and artists have been drawn to bubble letters because of their distinct appeal and wacky, rounded shapes. The Bubble Letter B sticks out among the other alphabetic characters as a whimsical and expressive typographic design. This article investigates the history, traits, and creative possibilities of the Bubble Letter B.
The 1970s street art and graffiti movements are where bubble letters first appeared. In search of fresh avenues for self-expression, street artists started experimenting with strong, rounded letterforms that exuded enthusiasm and pleasure. These bubble-like letters became well-known very fast and established a unique urban art style.
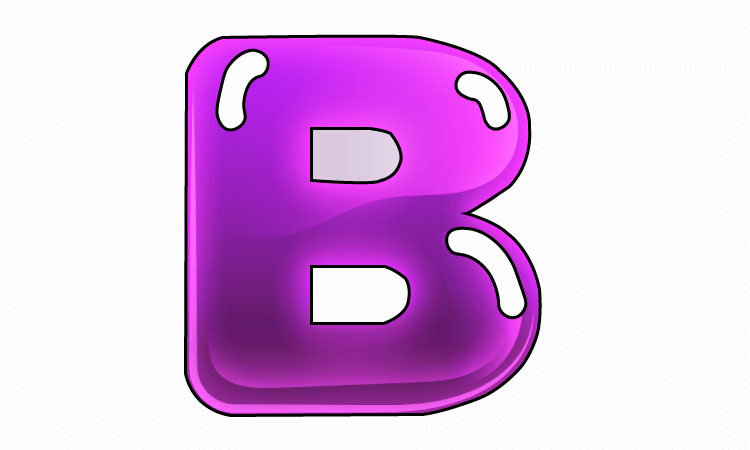
The rounded, inflated shape of the Bubble Letter B gives it a three-dimensional appearance. The letter has a distinct and bold edge since it is frequently highlighted. The consistent thickness of the letter strokes adds to the entire design’s fun feel by giving it a bubble-like appearance. The Bubble Letter B is a popular option for a variety of creative projects because of its rounded edges, which provide a warm and inviting style.
Using bubble letters in your artwork, posters, or personal projects is an enjoyable and imaginative way to incorporate a bright and humorous element. This tutorial will be centered around making a Bubble Letter B. Whether you’re an amateur or an expert artist, these easy methods will help you give your letter B a lively twist.
Materials Needed:
- Paper.
- Pencil.
- Eraser.
- Fine-tip marker or pen.
- Optional: Colored markers or pencils for decoration.
Step by Step Bubble Letter B Drawing:
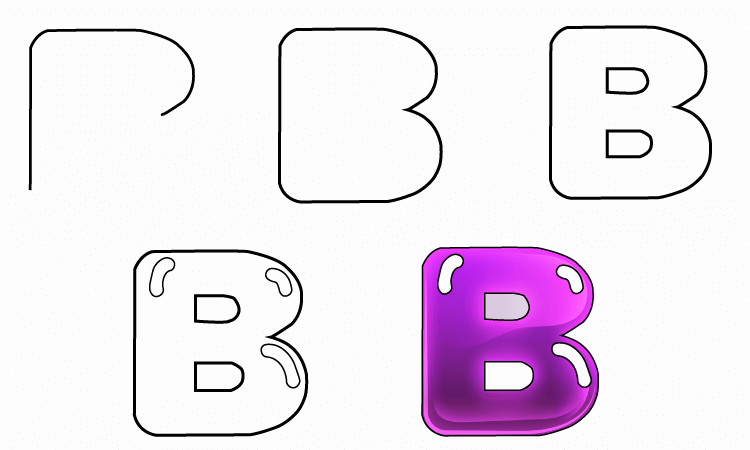
Step 1:
Start by outlining the letter B on your paper. Keep the proportions in mind and create a well-defined and clear letter shape. Use your pencil lightly to make adjustments in the later steps easily. Let’s draw the upper part of the Bubble Letter B Drawing. For the upper part, draw a straight line from below to above and bend it like the image below.

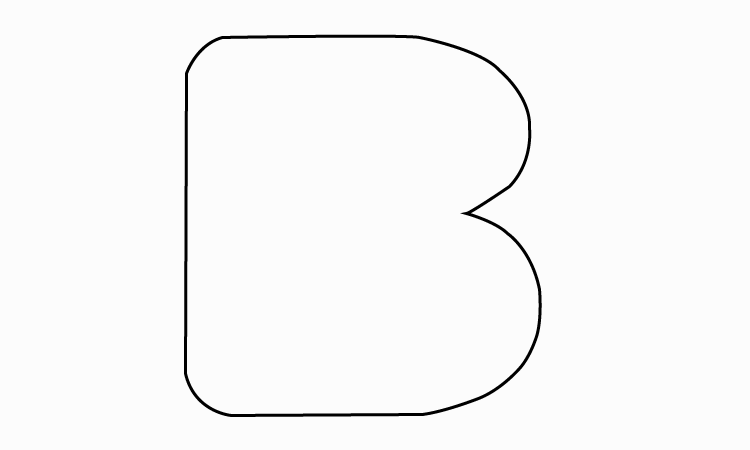
Step 2:
Now complete the letter B. Draw the curved line, bend it from below, and attach it to the straight line. If you have any problem while drawing, see the reference image of the bubble letter b, which is given below.
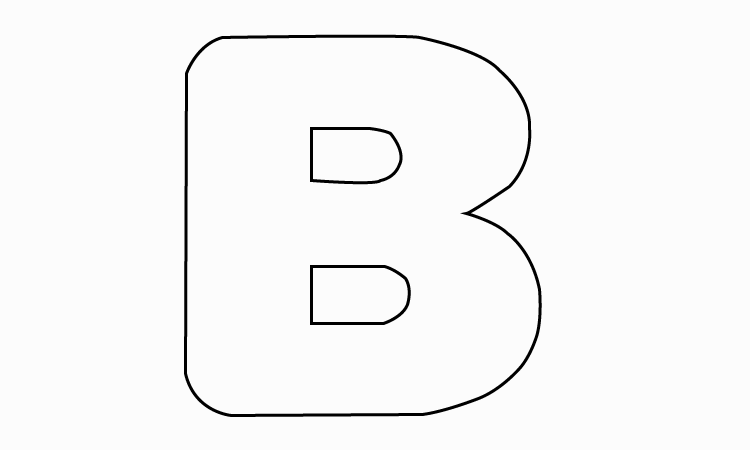
Step 3:
In this step of bubble letter b, we complete the inner part of the letter b. For the inner part, draw one straight line and two curved lines to make a curved circle. Draw two circles inside the letter. To enhance the bubble look, round the corners of the letter B. Make gentle curves where the straight lines meet, giving the letter a softer and more playful appearance. This step contributes to the overall bubbly effect.
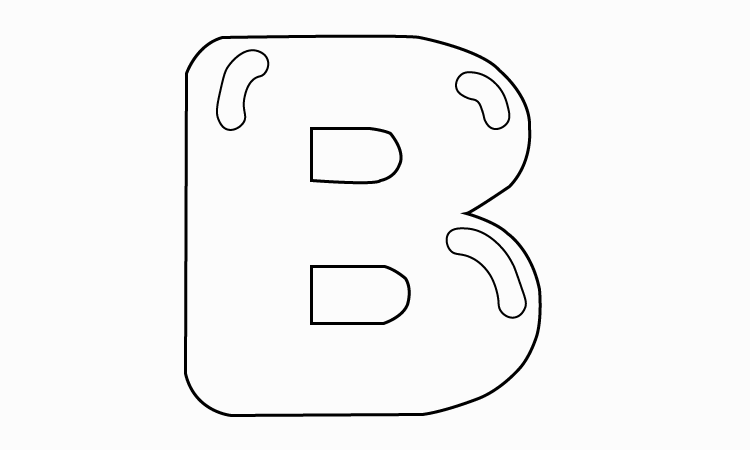
Step 4:
Within letter B, add smaller circles or ovals to represent bubbles. These can be scattered randomly or placed strategically around the letter. Vary the sizes of the inner bubbles to add visual interest and depth to your design.
Step 5:
To enhance the bubble look, round the corners of the letter B. Make gentle curves where the straight lines meet, giving the letter a softer and more playful appearance. This step contributes to the overall bubbly effect. If you want to take your Bubble Letter B to the next level. Consider adding colour and additional decorations. Use colored markers or pencils to fill in the letter and inner bubbles. Experiment with shading or gradients to make your letter pop.
Conclusion:
Making Bubble Letter B is a rewarding and pleasurable creative project. If you want to make it aesthetically stunning and glittering for pleasure or for a purpose, you can use these approaches. You can play with different sizes, styles, and colors to personalize your Bubble Letter B.
You May Also Like:

0 Comments