Bubble Letter I
In the field of typography and lettering, designers and artists frequently experiment with different styles to give their works a distinctive flair. The Bubble Letter is one such enthralling and whimsical design where letters appear inflated and rounded. This essay will examine the creative potential of Bubble Letter, with a particular focus on the letter ‘I’ and its artistic appeal.
The humorous and expressive lettering style known as Bubble Letter, or Bubble Letters, is distinguished by the use of soft, rounded edges that resemble bubbles. Crafti art gave rise to this trend, which has subsequently spread to other design mediums such as digital graphics, posters, and logos.
How To Draw Bubble Letter I Drawing
In Bubble Letter, the letter ‘I’ provides a special medium for artistic expression. Its vertical structure preserves the effervescent nature while allowing for intriguing form changes. To increase the visual impact of the letter “I” in this manner, artists frequently experiment with various bubble sizes, fun shadows, and vivid colors.
The world of street art and graffiti is where Bubble Letter I first got its start. Graffiti artists, who first became prominent in the late 20th century, aimed to provide a more dynamic and lively approach to typography by breaking away from traditional lettering forms. As a result, Bubble Letter I was created, with each letter appearing to be a vibrant, three-dimensional bubble.
Material Required:
- Paper.
- Pen.
- Remover.
- Pen or marker with a fine tip.
- Crayons, pencils, or colored markers
Step by Step Bubble Letter I Drawing
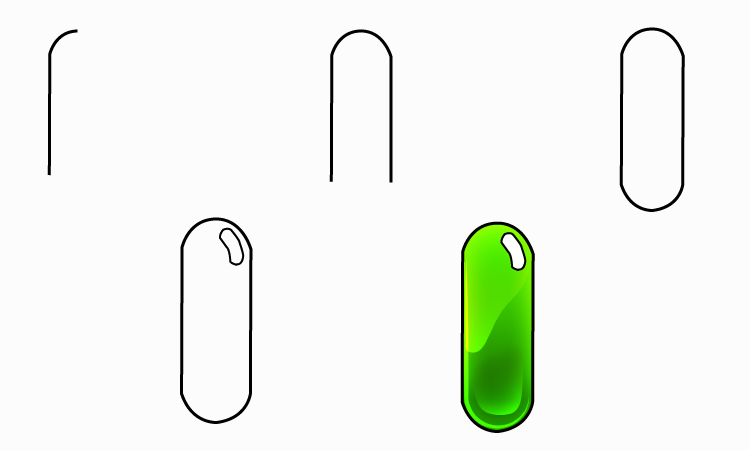
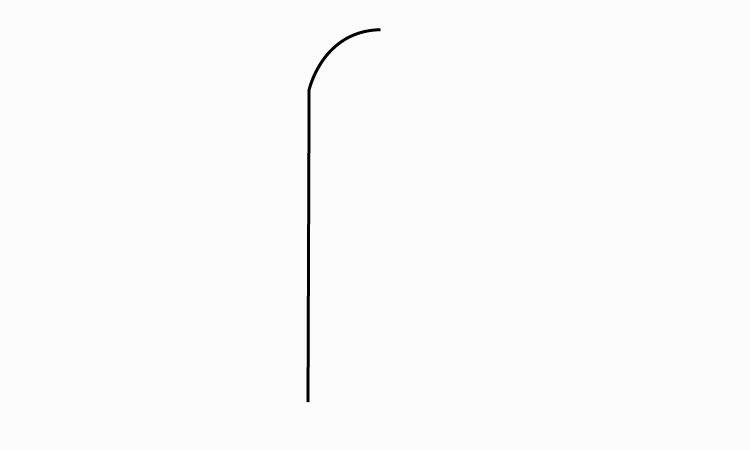
Step 1:
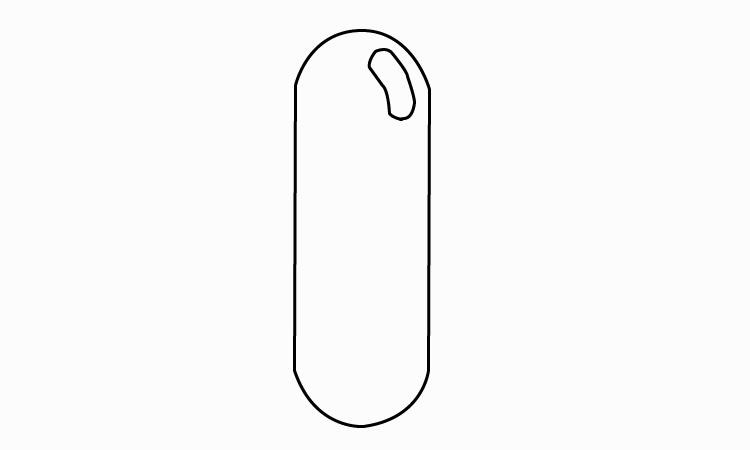
Start by drawing the letter’s outline that you wish to have become a letter. To make it easier to erase and make changes, use a pencil. The bubble effect is best applied to simple shapes, so keep the letter simple. Draw a straight line in the middle of the page and curve it in the same direction as the bubble letter I illustration that is provided below.
Step 2:
Draw a second line parallel to the first outline to give the letter more thickness. The bubble’s width will be determined by the distance between these lines. To keep the appearance consistent, make sure the lines are spaced equally.
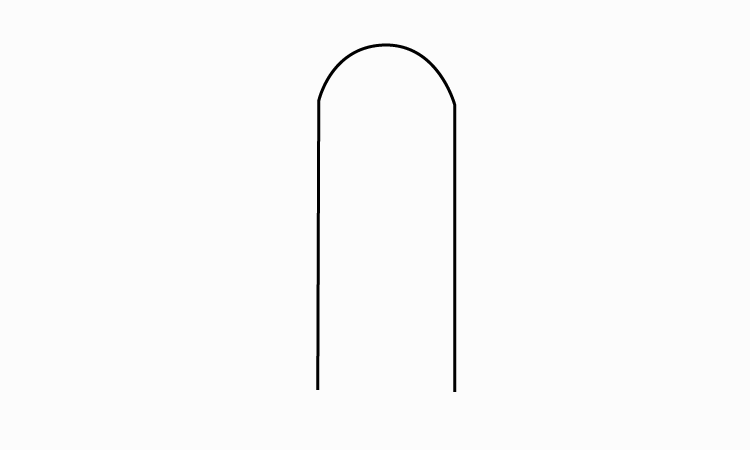
Step 3:
Round the corners of the inner and outer lines to give the letter a bouncy look. This will provide the appearance of a bubble that is three dimensions. Connect the straight lines with rounded curves, maintaining consistency at every corner. The design of the letter I is now finished when the line is curled at the end and joined to the other line.
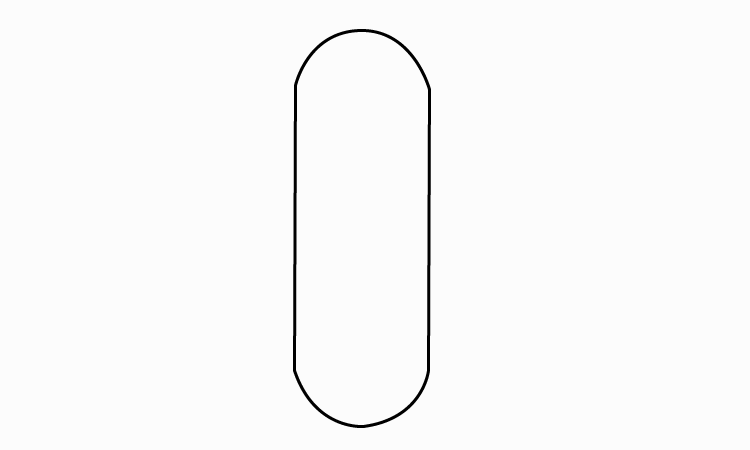
Step 4:
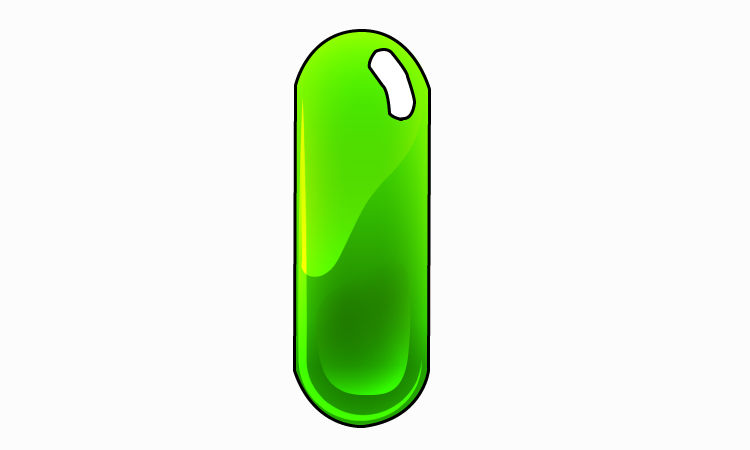
After you’re happy with the frothy shape, carefully remove any extraneous lines from the letter. What’s left should be a smooth, rounded contour. Now that the fundamental structure is complete, we add some design patterns inside the letter to give them a bubble appearance. Inside the I, sketch a pattern of straight and curved lines.
Step 5:
Add some decorations or features to your bubble letter to make it even more impressive. You can use colored markers, pencils, or crayons to add patterns, hues, or shading to the letters. This phase gives you the freedom to express your creativity and personalize your bubble letters. You can try out various sizes and styles and combine them to create words or phrases.
Conclusion:
You can creatively and amusingly infuse your writing with individuality and charm by creating a bubble letter. Learning how to construct bubble letters can be a rewarding and fun project for school, a poster, or just a fun creative project. So gather your supplies, adhere to the instructions, and bring your imagination to life while creating your bubble letter.
You May Also Like:

0 Comments