Bubble Letter J
Since ancient times, people have been fascinated and inspired by the creative representation of alphabets, which are the fundamental units of language. The Bubble Alphabet is a particularly charming variation in which the letters appear spherical and three-dimensional. The Bubble Letter J is one of these fascinating characters that stands out as a special and visually appealing form. This study investigates Bubble Alphabet J’s aesthetic beauty by looking at its history, traits, and effects on visual communication.
Rooted in the larger heritage of calligraphy and writing is the Bubble Alphabet J. The art form of calligraphy, which entails the artistic and expressive arrangement of letters, has expanded to include a variety of forms over time. With its rounded and inflated forms, bubble letters became a visually striking and amusing subset of calligraphy.
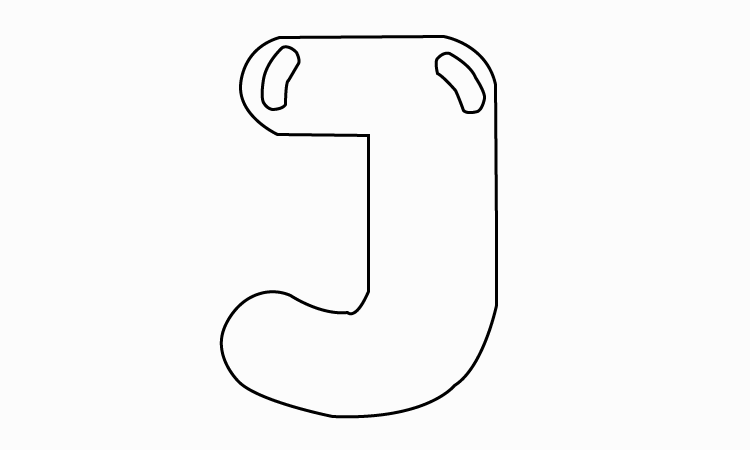
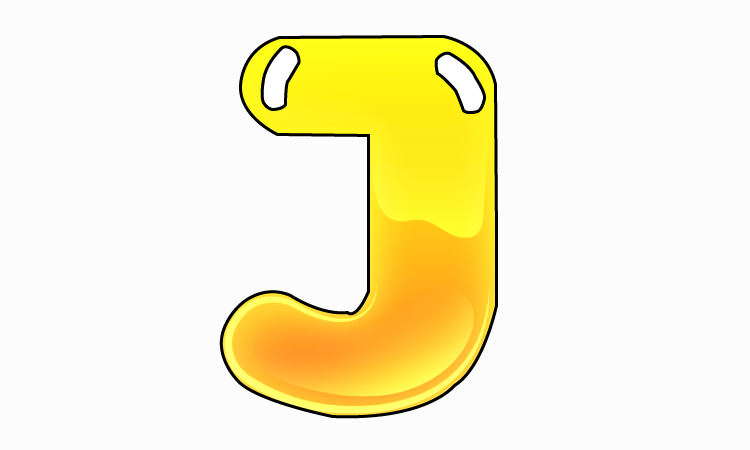
Bubble Letter J Drawing
Bubble Alphabet J has its roots in street culture and graffiti art, where creators aimed to bring lively and dynamic graphic elements into urban environments. This look eventually moved beyond its street roots and appeared in a variety of artistic mediums, such as graphic design and digital media.
Because of its rounded, plump appearance, Bubble Alphabet J exudes playfulness and fullness. The bubble style gives the letter J a unique personality that deviates from the stiff, conventional lines of standard letterforms. The letter has an air of buoyancy and effervescence due to its rounded edges and inflated appearance.
Bubble Alphabet J’s visual attractiveness is partly attributed to its three-dimensional quality. The portrayal appears to be three-dimensional, yet it has a tactile quality due to the deliberate addition of highlights and shadows that provide the impression of depth. Because of its depth and additional layer of intricacy, Bubble Alphabet J is a visually appealing component of design.
Supplies Required:
To guarantee a seamless and pleasurable experience, gather the necessary resources before beginning the step-by-step process:
- Paper: To avoid ink bleed-through, use a sketchbook or durable paper.
- Pencil: For outlining and sketching, a regular pencil will be utilized.
- Eraser: Any stray lines can be cleaned up using a high-quality eraser.
- Choose vivid colors to fill in the bubble letters with markers or colored pencils.
- Optional: Use a ruler to draw even, straight lines.
Bubble Letter J Step-by-Step
Step 1:
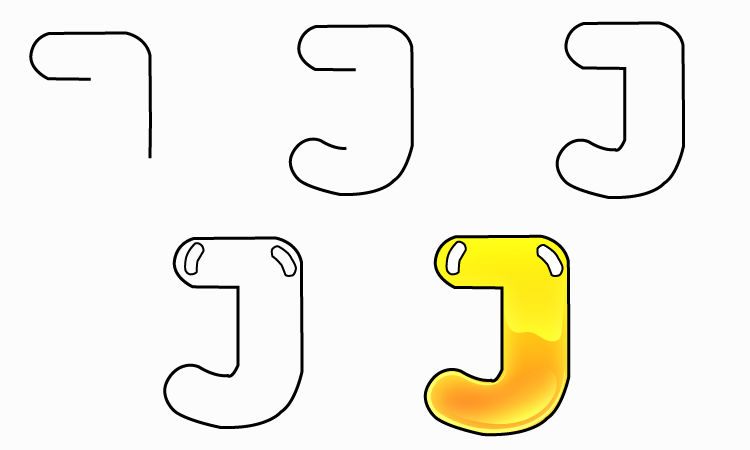
First, lightly draw the letter “J” in a bold, huge font. Making an orderly and balanced outline is the aim. To ensure an eye-catching outcome, pay attention to the letter’s curves and angles. Depending on your preferences and the amount of space available, change the letter’s size. Draw a line that is straight and curved to resemble the example below.
Step 2:
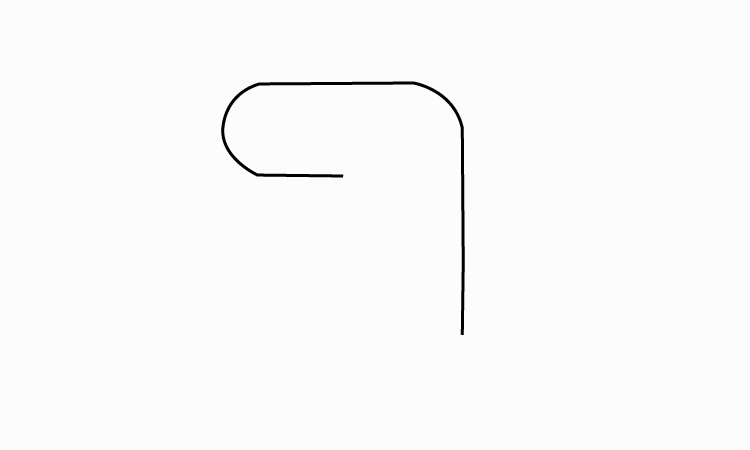
To give the letter a softer, more inflated appearance, concentrate on rounding off its corners and curves. To create a bubble letter that is both well defined and aesthetically beautiful, take your time in this phase. Sketch the line below, bending it twice. Refer to the reference image if you are having trouble drawing the bubble letter J.
Step 3:
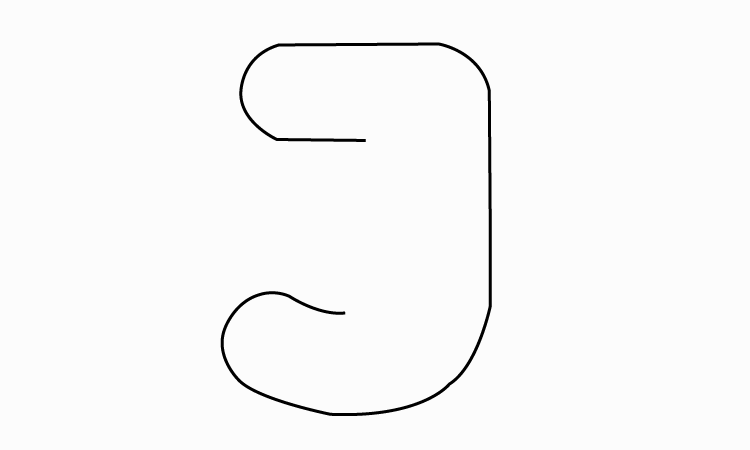
It’s a really basic and easy procedure. To complete the drawing of the bubble letter J, just draw the straight line. To create an organized and professional appearance, remove any extraneous lines or stray markings. It’s a really basic and easy procedure. To complete the drawing of the bubble letter J, just draw the straight line. To create an organized and professional appearance, remove any extraneous lines or stray markings.
Step 4:
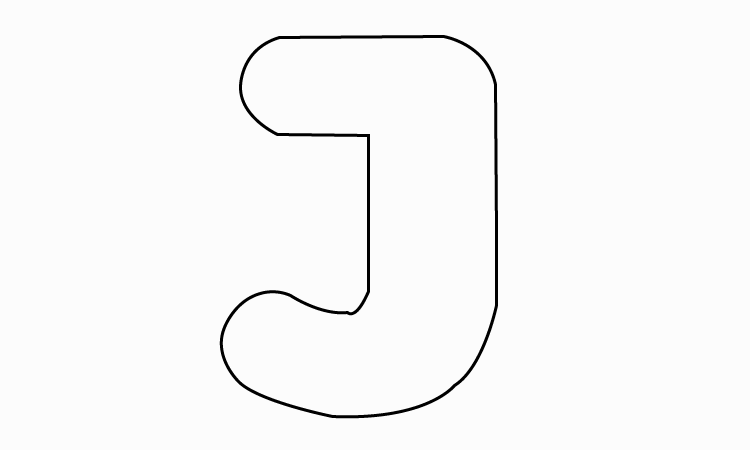
Now, trace over the letter “J”‘s outline, progressively thickening the lines to get the bubble effect. Once the bubble structure is established, gently go over the pencil lines to further refine and improve the shape of the letter. Draw various patterns and designs inside the bubble letter J. Draw a design in varying sizes.
Step 5:
Using the selected colors, carefully color the letter “J” inside its lines. To guarantee a tidy and uniform application, take your time. When using markers, take care to prevent bleed-through and think about protecting the surface with a sheet of paper underneath.
Conclusion:
The process of making a Bubble Letter “J” by step is enjoyable and beautiful, letting you showcase your creative side. This tutorial offers an easy and fun way to create a visually appealing bubble letter “J,” perfect for a school project, a handmade card, or just having fun with your creativity. Try a variety of designs and hues to personalize your Bubble Alphabet “J”!

0 Comments